
Brioche Bread
Here I am writing this article, drinking my earl grey tea while taste-testing my most recent procrastination adventure? Project? Experiment? Although I am not sure what to call this, amidst finals season, while I should be studying and writing all my final papers, I have found a new way to procrastinate: baking. I love baking. Now, I'm not an expert baker by any means, but I love the whole process of baking. From measuring out precise amounts, to pulling the pans out of the oven, and everything in between, I love baking and trying out new recipes. Again, I’m not that great at it, but occasionally I'll successfully make something and I’ll add it to my list of things I can proudly say I can make! Today’s fun, new, and exciting baking project was….. Brioche Bread! Super random, I know, but recently my mom came home from doing errands with French Brioche Rolls from a nearby bakery (supporting local business’–yeah!). They were so good...light, airy, fluffy, literally heavenly bread with a hint of sweetness…but soon enough, my family happily finished all the rolls, so I thought to myself, why not try and make them?! And here I embarked on my journey: attempting to make Brioche Bread. After doing some research on different recipes, I stumbled upon one on delish.com. I’ve used their receipiese in the past and I really liked the step-by-step video that accompanied the detailed directions with all the tips and tricks, June Xie, Delish Test Kitchen Manager shared. Before I continue, fair warning, might just be me, but it took me a little longer than expected to make this…. but oh was it worth it!


To start, I gathered all the ingredients I need and started to make the “sponge” as Xie called it. This is the process which is basically the “yeast starter” is used when you make bread. Essentially it consisted of mixing yeast, flower, and milk. I then set that aside to ~develop~ for about 45 minutes.
Next, I started on the dough. In the same bowl (I used the bowl from my KitchenAid mixer) I combined the room temperature eggs (Xie gives a good tip on how to warm these up with hot water if you forgot to take them out of the fridge before), flour, sugar, salt, and softened butter.


After all that was thoroughly mixed, per the specific directions, I added the butter very slowly, in small increments, as opposed to all at once. This way, the butter will be added in more smoothly and will be better incorporated in the dough. When all of the butter was mixed in, I covered the bowl up again and let it sit for a little over an hour so the dough could increase in size!
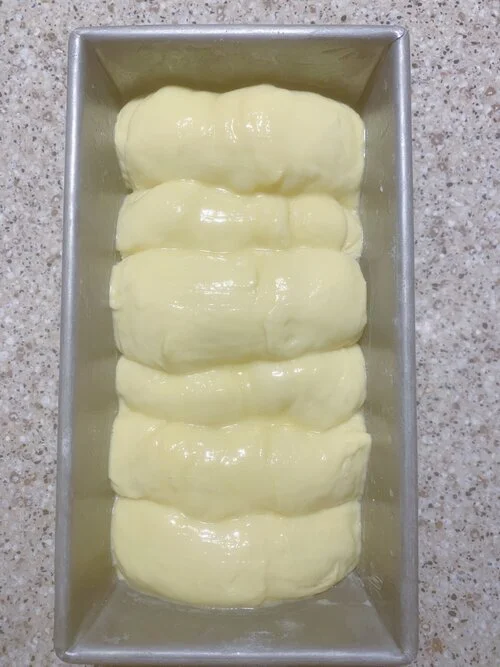
The next step required a floured surface and cutting the dough up into 6 equal-ish pieces that can be flattened out and rolled! You don’t have to shape the dough into what Xie called, a “letterfold roll,” but she was very convincing when she said it “allows you to tear into the bread” right from the oven since it’s “perfectly portioned” with the pieces! After all my dough was rolled up, I put them side by side in a buttered loaf pan and covered them up for another hour (now that I think about it I know why this recipe took a long time…)


Finally, right before I placed the pan in the oven, I brushed the bread with egg wash and it was good to go! With the oven set to 375°, I couldn’t wait to see the soon-to-be golden brown bread in 30 minutes.

So now as I’m finishing up this article and fully about to start my next slice of buttery brioche bread, a few things to keep in mind! Definitely watch the video and read the Q&A section of this Brioche Bread Recipe! It's a slightly longer process, but so worth it. I also halved the recipe (so if my pictures threw you off that’s why!) because I didn’t really need or want to make two loaves, but it still turned out great!! Also, everyone uses different brands of yeast, flour, even eggs for that matter, so don’t worry if your dough didn’t rise in an hour, if it took an extra 30mins or even another hour it's all good! Also, totally have fun with the recipe! Next time, I'm thinking of making rolls or putting the dough in a cupcake pan and maybe throwing some chocolate chips in there?! You can get so creative with this recipe and use it as a base and add your own fun twist to it!
I’d say this is another successful recipe for me that I can’t wait to make again! Thank you to delish.com for another great food adventure and June Xie for her tips!
Hope I’ve inspired you to try this recipe or look into other ones too! Who knows, maybe this quarantine you’ll discover you’re a talented baker?! Or maybe you’ll find a recipe you can easily make at school and share with all your friends? The possibilities are endless!
& of course, as always–
have fun, stay healthy, try something new, and share your baking creations!
Liza :)